
All campaign bosses in story order with locations and the fights that block progress.
Last Epoch Bosses in Order: Campaign Roadmap
Last Epoch's campaign runs nine chapters across five timelines and ends with Majasa in the Chamber of Vessels. The mandatory gate fights in order are Haruspex Orian, the Husk of Elder Pannion, the Void Amalgamation, the Emperor's Remains, Admiral Harton, Spymaster Zerrick, the triple fight against Harton, Zerrick and Yulia, Spreading Frost, Architect Liath, Lagon, and Majasa. You get access to endgame systems after chapter 2, so everything past the Ruined Era town arc is skippable for rushing characters.
- Total chapters: 9, from the Divine EraKeepers' Camp to the Maj'Elka temple rooftops.
- Final boss: Majasa, at the end of chapter 9. Killing her also grants +1 to all attributes, the only source of that bonus.
- Hardest gear check: Lagon at the end of chapter 8. Even streamlined progression routes call out this fight as the spot where first-time characters stall, so budget crafting and resistance work before the Seafloor Colosseum.
Every Campaign Boss in Story Order
This table lists the fights that sit on the main quest path, in the order you meet them. Optional detours live in their own section below.
| # | Boss | Chapter | Where you fight it | Blocks the story? |
|---|---|---|---|---|
| 1 | Haruspex Orian | 1 | The Summit | Yes |
| 2 | Pannion's three Void-corrupted students | 2 | Pannion's Study | Yes |
| 3 | Idol of Loathing | 2 | The Precipice | Yes |
| 4 | Voidfused Forge | 2 | The Armoury | Yes |
| 5 | Husk of Elder Pannion | 2 | The Lower District | Yes, unlocks your Mastery choice |
| 6 | Void Centipede | 3 | Welryn Docks | Yes |
| 7 | Void Amalgamation | 3 | The Ritual Site | Yes |
| 8 | Temple Guardian | 3 | The Courtyard | Yes |
| 9 | Emperor's Remains | 3 | The Emperor's Remains, through the Sanctum Bastille rift | Yes |
| 10 | Prophet of Ruin and Idol of Ruin | 4 | The Corrupted Lake | Yes |
| 11 | Admiral Harton | 4 | The Dreadnought's Deck | Yes, ends chapter 4 |
| 12 | Ortra'ek the Survivor | 5 | Shining Cove | Yes, part of the Sapphire Tablet chain |
| 13 | Spymaster Zerrick | 5 | Titan's Canyon | Yes, ends chapter 5 |
| 14 | Harton, Zerrick and Pontifex Yulia, all three at once | 6 | The Immortal Citadel | Yes, ends chapter 6 |
| 15 | Spreading Frost | 7 | Temple of Heorot | Yes |
| 16 | Frostroot Warden | 7 | Tomb of Morditas | Yes |
| 17 | Architect Liath | 8 | Sanctum of the Architect | Yes |
| 18 | Lagon | 8 | Seafloor Colosseum | Yes, ends chapter 8 |
| 19 | Scalebane Swarmkeeper | 9 | Radiant Dunes | Yes |
| 20 | Scalebane Guild Leader | 9 | Maj'Elka Slums hideout | Yes |
| 21 | Majasa | 9 | Chamber of Vessels | Yes, final boss of the campaign |
Official source: Making Last Epoch: Majasa — developer blog on the chapter 9 finale — the developers describe the encounter as meeting the goddess herself and surviving her brutal transformation.
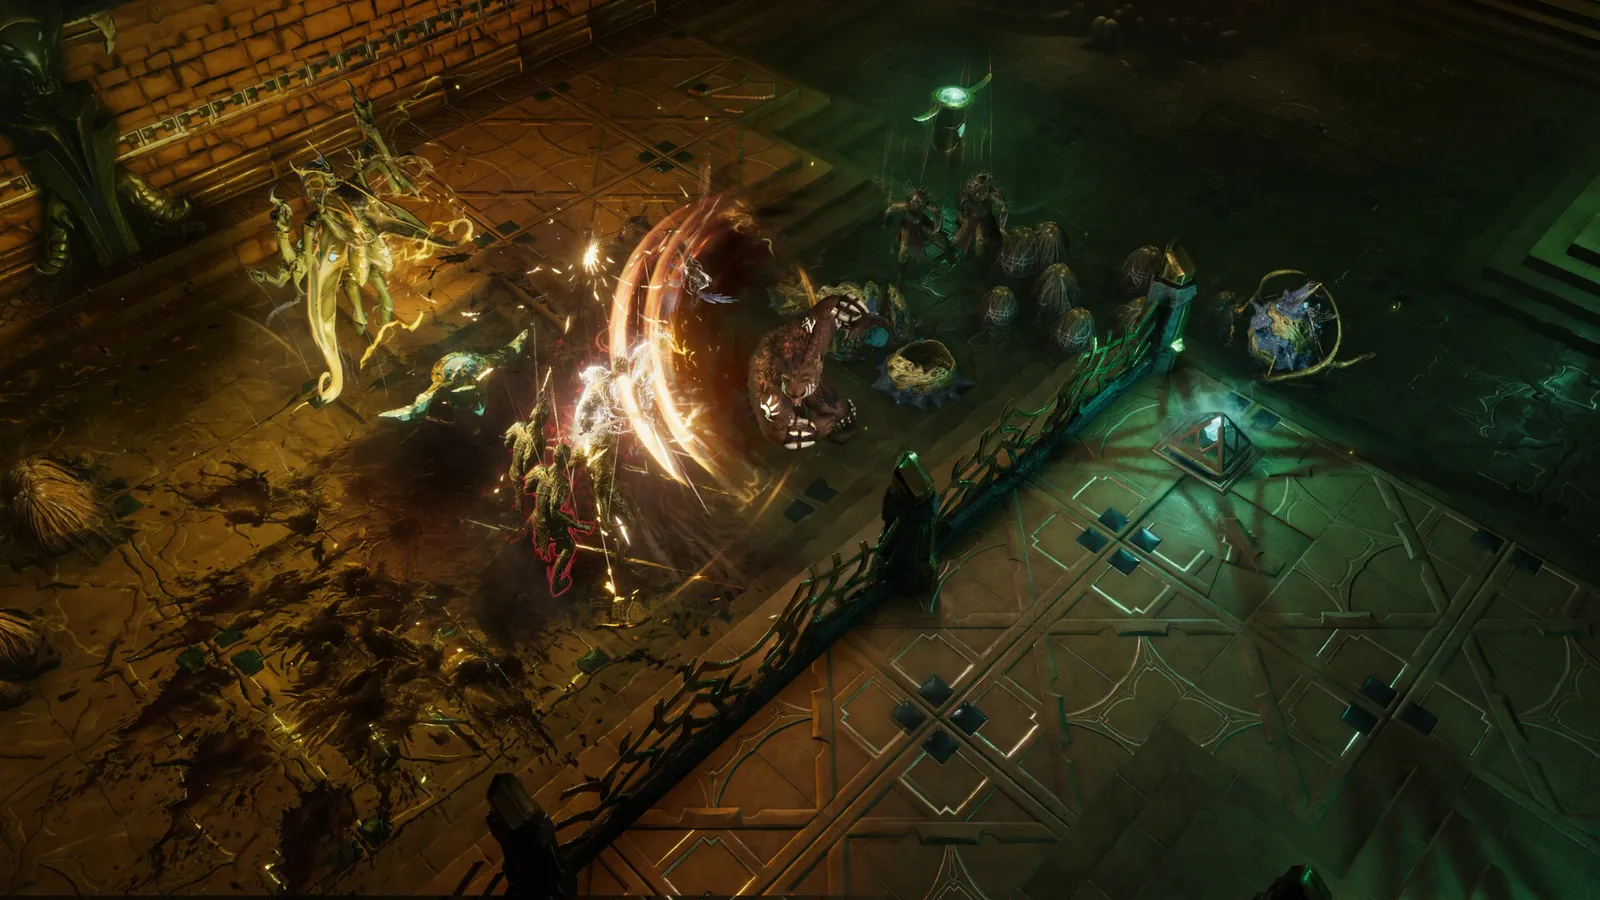
Chapters 1 to 3: Orian, Pannion, and the Emperor
Chapter 1 is short. Follow the Keeper quest line through the Fortress Gardens and Ulatri Highlands until the Summit corridor, where Haruspex Orian waits at the end. Free Keeper Balthas, report back to the Keepers' Camp, and move on.
Chapter 2 is where the campaign actually starts gating you. Pannion's three students in Pannion's Study fight as a group, so clear adds before focusing. Past the Precipice, the Idol of Loathing guards a destroyed bridge — take the time rift through the Ancient Cavern to get around it. The Voidfused Forge in the Armoury spawns lava pools under itself that melt standing characters; keep moving around the edge. Then comes the Husk of Elder Pannion in the Lower District: stay out of the lightning bubble and track the fire beam, which always rotates clockwise.
Beating the Husk matters beyond loot. Head back to the End of Time, talk to Elder Gaspar upstairs, and pick your Mastery. That choice shapes the rest of the run, so spend the passive points you earned in chapters 1 and 2 before continuing. The full list of point-granting quests lives in the passive point quests guide.
The chapter 3 finale evolves as its health drops, gaining abilities including a purple mist that spawns monsters from its center. Burn the summoned Omen eyes first or the arena floods faster than you can clear it.
Chapter 3 funnels through the Cultist Camp. The Void Centipede ambushes you at a chest in the Welryn Docks — check your flasks before clicking. Void Amalgamation at the Ritual Site punishes players who ignore its summons; kill the adds, then the boss. Past the Shattered Valley, the Temple Guardian gates the Temple of Eterra, and the Lotus Halls make you clear four voidwing nests plus a miniboss before the purple wall drops. Collect one orb, take the Sanctum Bastille rift, and finish with the Emperor's Remains.
Chapters 4 to 6: Harton, Zerrick, and the Triple Fight
Chapter 4 opens in the Outcast Camp and runs on rails until the Risen Lake. Take the time rift to the Corrupted Lake for the double fight: Prophet of Ruin and Idol of Ruin share an arena, and both punish standing inside the big purple circle on the ground. Hug the left wall on entry to reach them with the least trash. Then board the Dreadnought. Admiral Harton on the Dreadnought's Deck casts repeated lightning as long as you stay at range — the reliable answer is to stay glued to him and force his melee pattern.
Chapter 5 moves to the Majasan Desert. In Maj'Elka, grab the Sapphire Tablet quest from the Shrine Maiden before pushing on; Ortra'ek the Survivor in the Shining Cove drops the tablet you need to turn in. Then comes Spymaster Zerrick in Titan's Canyon, the campaign's first real damage-check boss: he only takes hit damage while his head is outside his body, and he only exposes it when he has a melee-range target. Fight him up close, shuffle around the poison pools under his body, and use the brief safe windows after each slam.
Chapter 6 is one extended gauntlet through the Necropolis. Clear the Citadel Sewers by hunting the patrolling Imperial Watchers — they move counter-clockwise, so sweep clockwise to intercept them. The chapter ends at the Immortal Citadel with all three Imperial bosses at once: Admiral Harton, Spymaster Zerrick, and Pontifex Yulia share a shrinking arena. Kill Yulia first for her support pressure, then Harton, then Zerrick last.
Chapters 7 to 9: Heorot, Lagon, and Majasa
Chapter 7 returns to the Divine Era winter. The Wengari Fortress sequence asks for the Brute, the Beastmaster, and the Patriarch plus Matriarch pair — start with the staff-wearing Patriarch and his cold boulder avalanches. Past the Tundra ice bridge, Spreading Frost in the Temple of Heorot is a movement fight: plant him mid-arena, strafe in a circle, and never stand in the cold beam. Vendor or stash before the Tomb of Morditas, because the Frostroot Warden channels a massive frontal slam at close range — step back a few paces for its duration and re-engage.
Chapter 8 runs Deep Harbor to Lake Liath and the islands. The Temple of Lagon is a maze; push south, then cut northeast to the Depths, and take the northeast exit to the Sanctum. Architect Liath opens the finale: dodge the ground lightning, kill her summons first, then burn her down. Immediately east waits the Seafloor Colosseum and Lagon. This is the fight that ends undergeared runs, so overcap lightning and cold resistance, bring a movement skill, and learn the slam tells before committing portals.
Lagon hits harder than anything before it and the arena gives little room to recover. If the campaign has felt easy so far, that ends here — farm the two zones before the Temple, finish your crafting, and only then take the portal east.
Chapter 9 crosses the desert back to Maj'Elka. Expect the Scalebane Swarmkeeper in the Radiant Dunes, a 100,000-gold shakedown from a Scalebane Bodyguard in the Lower District (refuse and fight), and the Scalebane Guild Leader in the farthest east hideout of the Slums. Past the Osprix Warcamp and a rare Siege Golem, the Upper Temple leads through the Diamond Matron to the Lower Temple. Clear the monster waves, enter the Chamber of Vessels, and face Majasa. She transforms mid-fight into a far deadlier form, so save your defensive cooldowns for the second half rather than spending them early.
Fights You Can Skip
Not every named enemy on the road is mandatory. Skip these when rushing without losing story progress:
- Flamme Guard Sulla (Welryn Outskirts) and Siege Captain Caliga (Soul Wardens' Road) — both guard dead-end areas with rewards that rarely justify the time.
- Primeval Dragon in the Ancient Forest — tied to the An Ancient Hunt side quest for an idol slot. Worth it on a first character that still needs slots, skippable otherwise.
- Pontifex Aurelus atop Liath's Tower — a chapter 8 side quest off the critical path.
- Rime Giant and Eber in chapter 7's ice zones — side-quest targets, not gatekeepers.
- Deep Harbor Rescue and the Shell side quests in chapter 8 — no boss gating behind them.
Skipping side content also means skipping passive points and idol slots, which caps at 15 points and 8 slots from quests. A rushed character that stalls at Lagon or Majasa usually needs those points more than better reflexes — the passive point quests guide shows the fastest pickup route.
What Unlocks After the Final Boss
Majasa's death closes the story and opens the real game. The Monolith of Fate guide covers the timeline web, Stability, and Blessings that become your main progression. The three dungeons — Lightless Arbor, Soulfire Bastion, and Temporal Sanctum — unlock unique crafting and legendary mechanics at waypoints you already passed during the story. Seasonal content stacks on top: Season 5 adds the Rage of Morditas mechanic and its own boss chain, detailed in the Morditas boss guide.
Official source: Rage of Morditas — official Season 5 mechanic and Morditas reveal — Blood Crystals spawn the season mechanic in both the campaign and the Monolith, feeding a three-part Echo chain that ends with Morditas.
For pacing context — how long each stretch takes new versus rushing players — see how long the campaign takes. New players should also browse the official game site at lastepoch.com and the Steam store page for patch news before a fresh season start.
FAQ
Which boss is the final boss of the Last Epoch campaign? Majasa, fought in the Chamber of Vessels at the end of chapter 9. She transforms mid-fight, and killing her grants +1 to all attributes.
Do I have to kill every boss to reach the endgame? No. Endgame systems open up after chapter 2, so chapters 3 through 9 are optional for a character that just wants the Monolith. Finish all nine chapters at least once per character for the attribute bonus and quest passive points.
What is the hardest campaign boss? Lagon at the end of chapter 8 causes the most failed first attempts because of the jump in damage and the tight Seafloor Colosseum arena. Majasa is the tougher mechanical fight, but by then most builds are complete.
Can I skip Admiral Harton or Spymaster Zerrick? Not on a full clear — Harton ends chapter 4, Zerrick ends chapter 5, and both return alongside Yulia for the chapter 6 triple fight. They are unskippable gates on the main path.
Where is the Tomb of Morditas boss? The Frostroot Warden waits in the Tomb of Morditas in chapter 7, reached north of the Frozen Roots past Grael. It guards the Lance of Heorot quest line, not to be confused with the Season 5 endgame boss Morditas.
Related Guides
- Last Epoch Monolith of Fate: Endgame Starter Guide — where to go the moment Majasa falls.
- Last Epoch Dungeons Explained: Keys and Rewards — the three dungeons whose entrances you walked past in chapters 3 to 5.
- Last Epoch Quests That Give Passive Points: List — grab missed points if a gate boss is stat-checking you.
- Last Epoch Morditas and Pinnacle Morditas Boss Guide — the seasonal boss chain that continues past the campaign.
- Last Epoch How Long to Beat: Campaign Time — time each chapter stretch so your session plan matches the roadmap above.
More Last Epoch Guides
Why your gamepad is not detected in Last Epoch, Steam Input settings that fix it, and what to check on PS5 vs PC.
Season 5 added Ice and Blood Forging Potential to the Forge. How shards, affix tiers, Legendary Potential and the new potentials fit together.
The four S5 items that change your damage type, and how elemental conversion, ailments and resistances interact.
What the three dungeons unlock, which keys each needs, and how their rewards differ.
A tested checklist for Last Epoch frame drops and stuttering, from shader cache and paging file to the settings that cost you the least damage.
How many hours the campaign takes for new and rushing players, plus what changes the time before endgame.
The exact menu path to import a loot filter, plus the Season 5 filter changes worth making after a new league starts.
How to unlock the Monolith, what timelines, echoes, stability and corruption actually do, and the route to Empowered timelines.